Shadow is important stuff of any picture. It helps the picture to look more realistic and attractive. Especially, if you are related to E-commerce Business, you should use shadow in your product’s picture. It will make your e-commerce products more appealing and trustworthy. This content we are briefing step by step process how to create drop shadow in photoshop
Do you know that you can manually add drop shadow in your picture with the help of Photoshop? No need to worry if you don’t have the idea. I’m here to inform you of the complete process. Feeling excited about the tutorial? It is going to be exciting. In a few minutes, you are going to learn everything about drop shadow photoshop.
So, without any interruption lets jump on it.
Drop Shadow
In Graphics Designing Industry, there are different types of shadow. A drop shadow is such a shadow that looks like the shadow of a specific item. Adding a drop shadow in the picture makes the picture more trust-worthy. That’s why most of the e-commerce companies use drop shadow with the picture of their product. This is an effective method for grabbing the attention of viewers.
In the next section, I will show you the step-by-step tutorial of how to create a drop shadow in Photoshop.
How to make a drop shadow in Photoshop?
Follow these simple steps and you will be able to add the drop shadow in your picture.
Step 1: Making the object ready
In the first step, you have to set your object and the background ready for adding shadow. Sometimes, your current background may be unsuitable for adding shadow. In this case, you have to change the background and remove unwanted items. Let me show you how to do this.
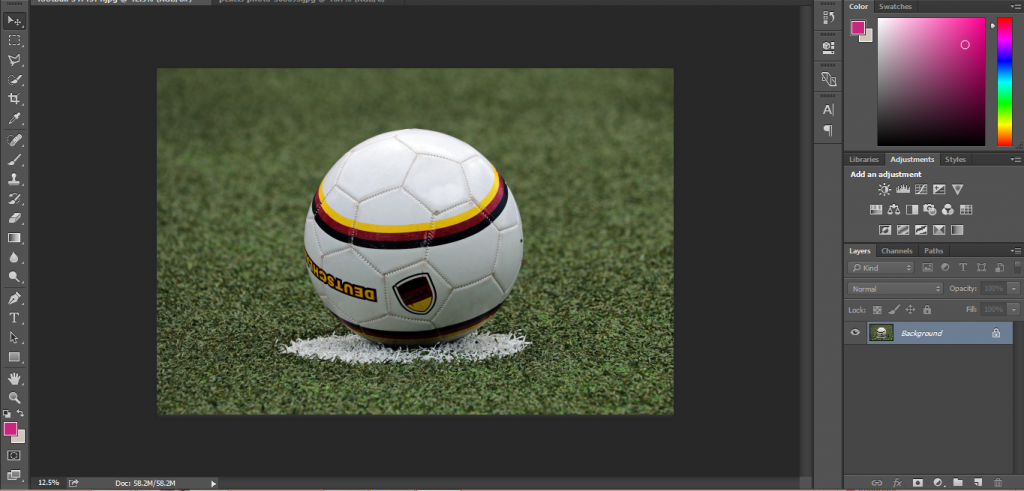
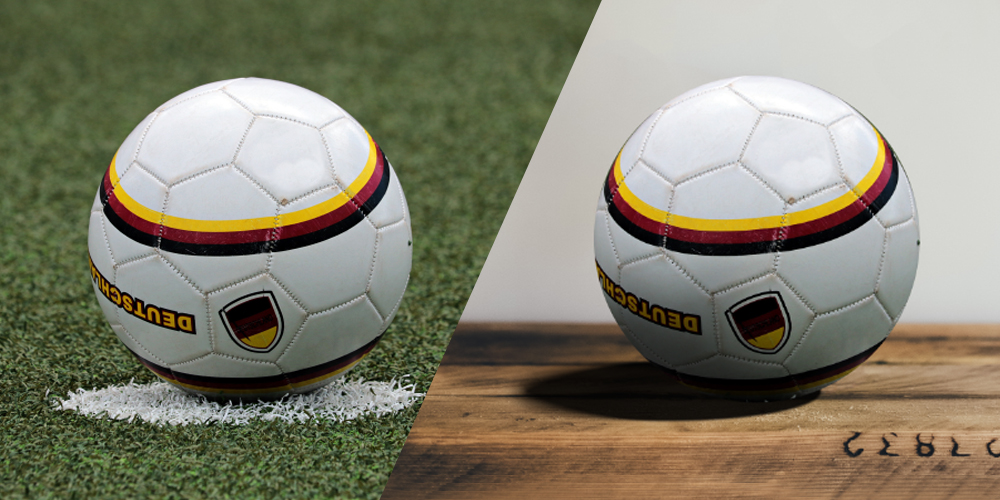
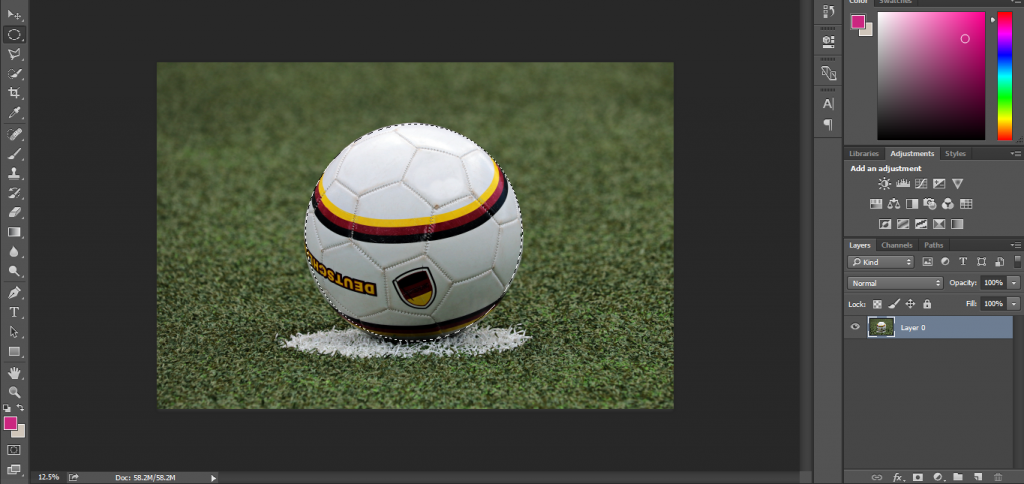
This is our sample picture. This background isn’t suitable for adding a shadow.
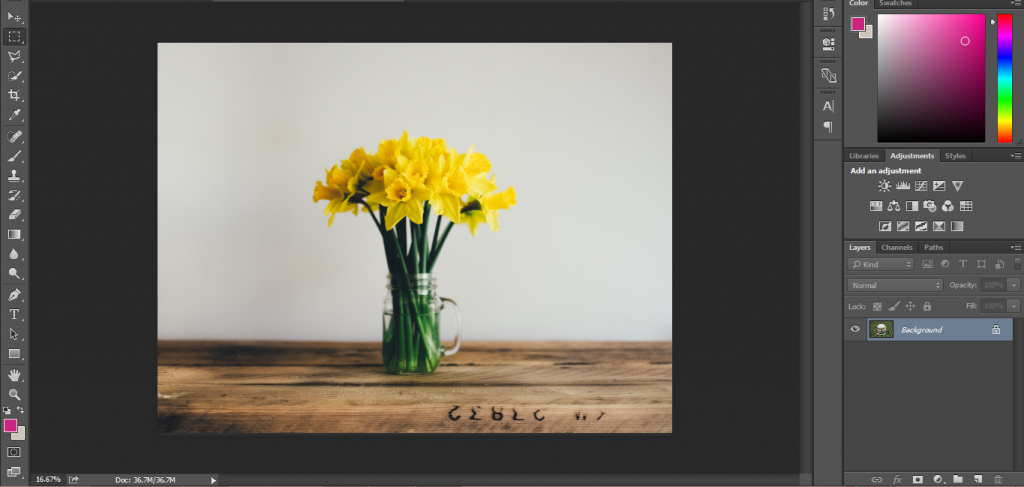
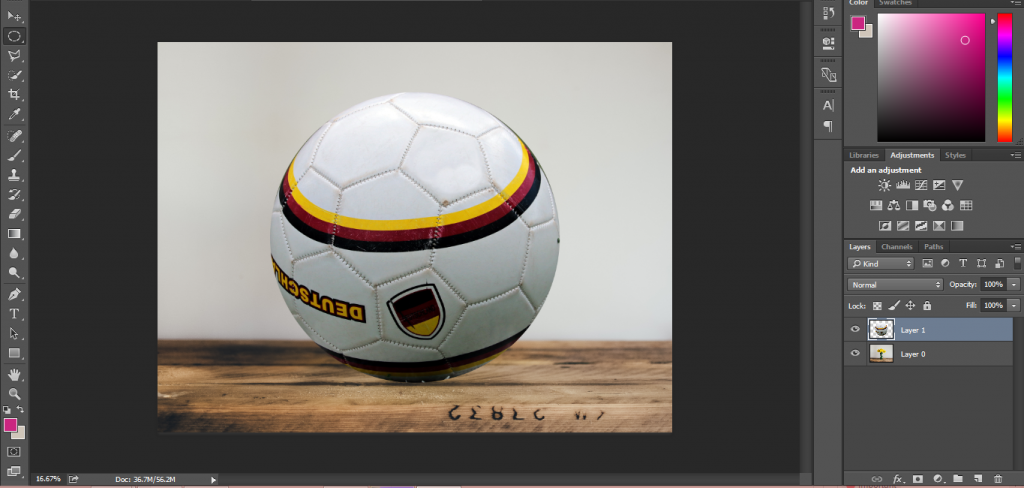
We will place the object on a suitable background. I want to place it in the below picture.
So, permit me to start the procedure.
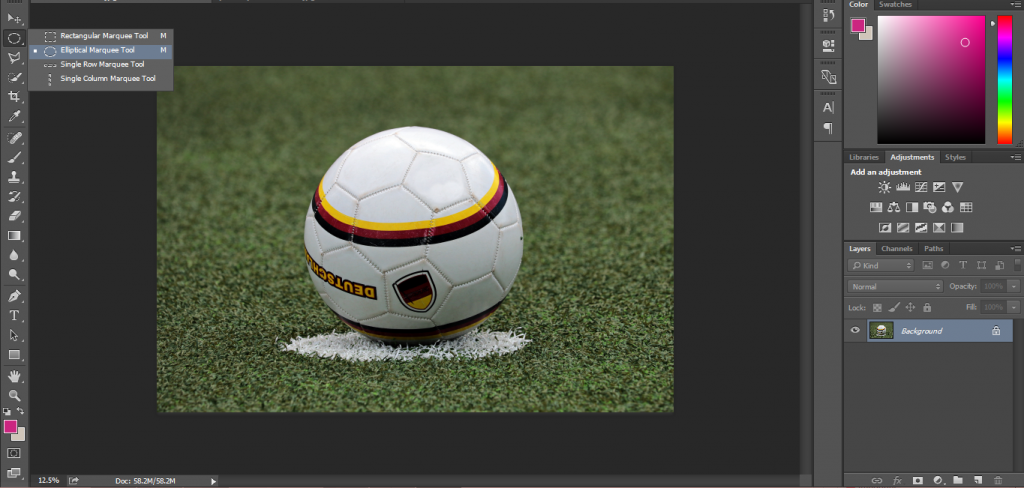
Pick a selection tool to select the object that you want to replace. I am going with the Elliptical Marquee Tool as it suited best with this object.
Now, we have to select our object. Press and hold, Left mouse+ Shift to make a selection. Do you want to move your selection line? Follow the instruction given in the below picture.

Press and hold shift and backspace to move the selection line. Also, don’t release the mouse at that time.
However, here is my selection.
This is looking pretty good, isn’t it? Let’s move forward.
Press CTRL + C to copy the object and open your preferred picture in Photoshop.
Then, press CTRL + V to paste the object in that picture. The object will be visible. Remember, you have to keep the layer unlocked. Let’s see the look of our sample picture.
Step 2: Place the object in the right position
Before you start adding a drop shadow, you have to place the object in the right position. Let’s, learn the procedure.
Firstly, Right-click on your object to convert it into a smart object.
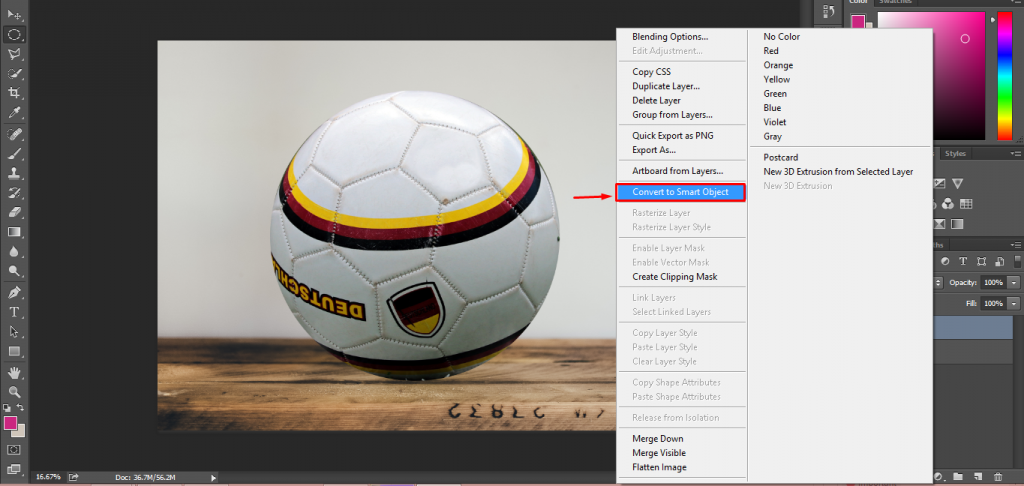
It will help you to resize your object without losing any pixels. Then pick the arrow tool from the left and move your object in the right position. To resize the picture press, CTRL+ T.
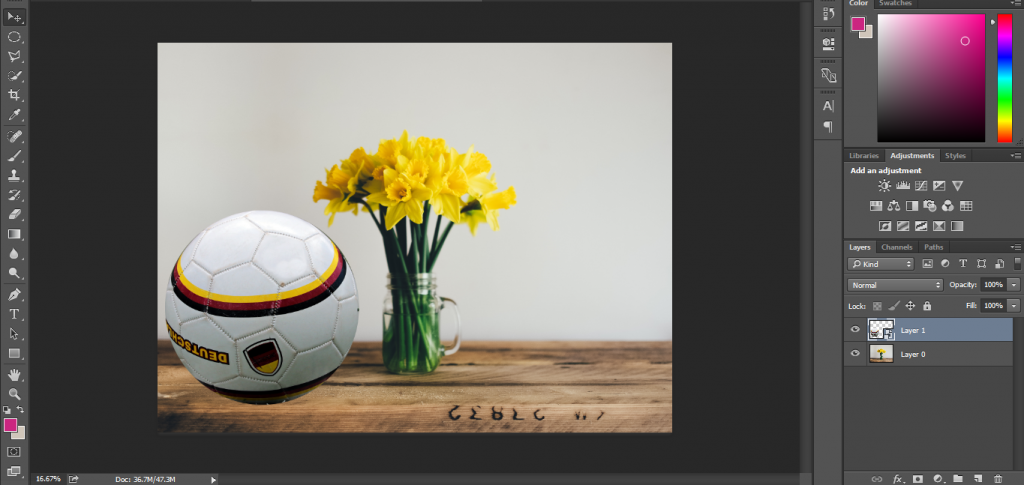
At this point, the flowers look like a distracting object. So, we ought to remove the element from the picture. Feeling worried about it? It won’t be too hard, dear.
Simple pick the lasso tool from the left tool sidebar and make a rough selection of the flower like this.
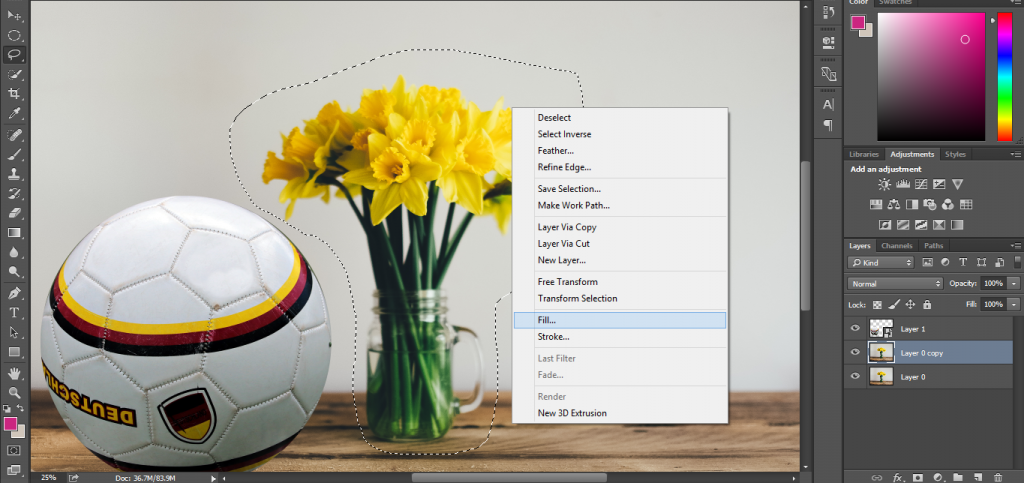
Right-click the mouse and choose the “Fill” option, it will vanish the selected object.

See, it has worked well. Press CTRL + D and move forward.
Again, pick the arrow tool and place the object on in the middle of the table.
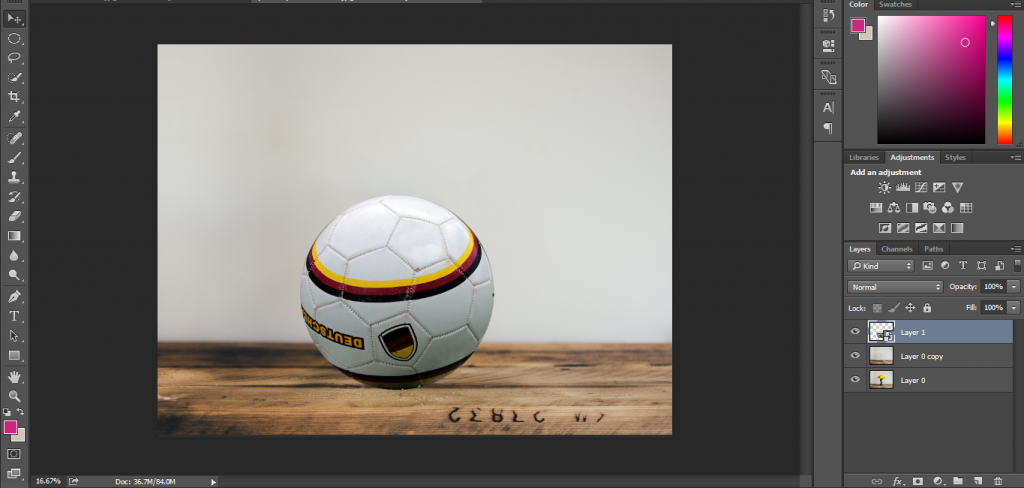
I think it is a perfect position.
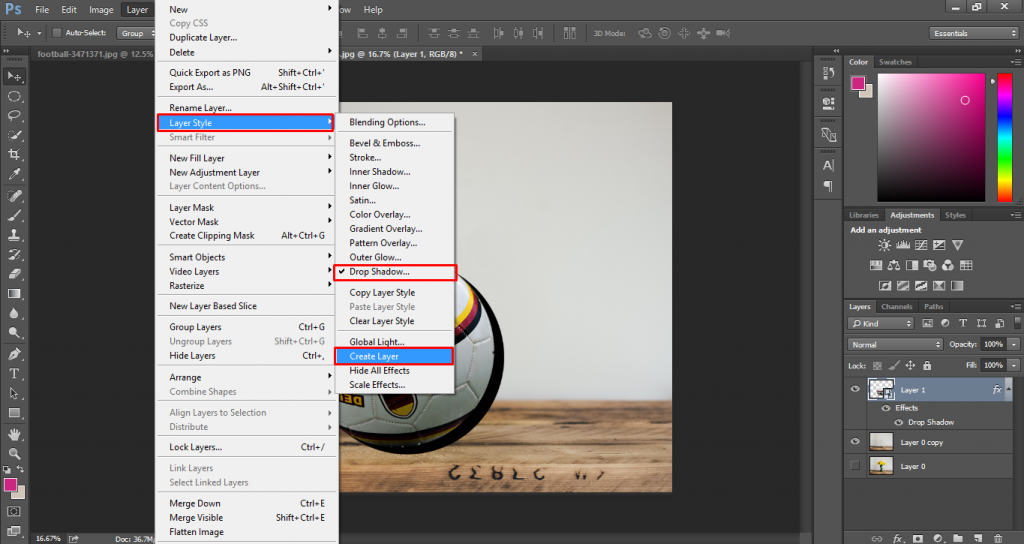
Step 3: Adding Shadow with the object
In this step, we are going to add a drop shadow in photoshop. Double click on the layer to bring the blending option and tick on the drop shadow.
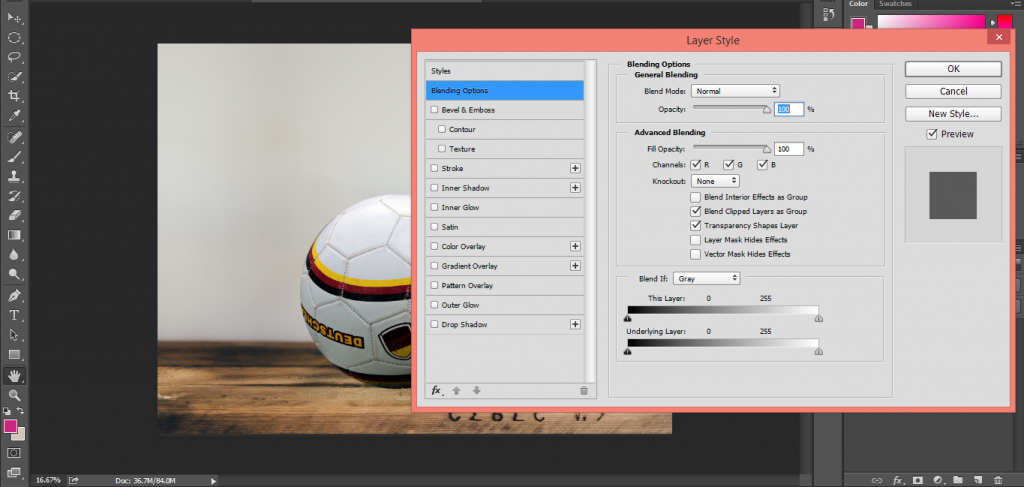
After hitting on the drop shadow, you will get different options for the drop shadow.

Customize these options to make a drop shadow of your object.
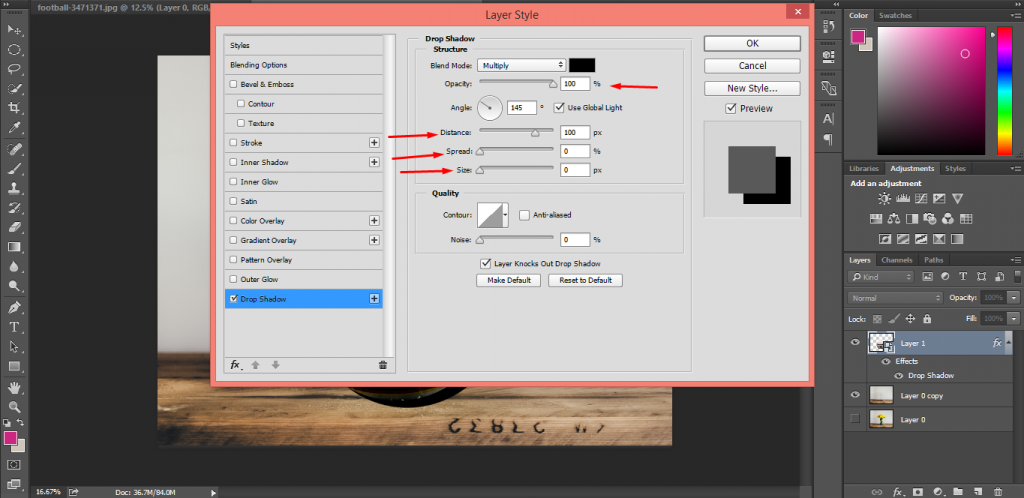
I have set the opacity to 100.
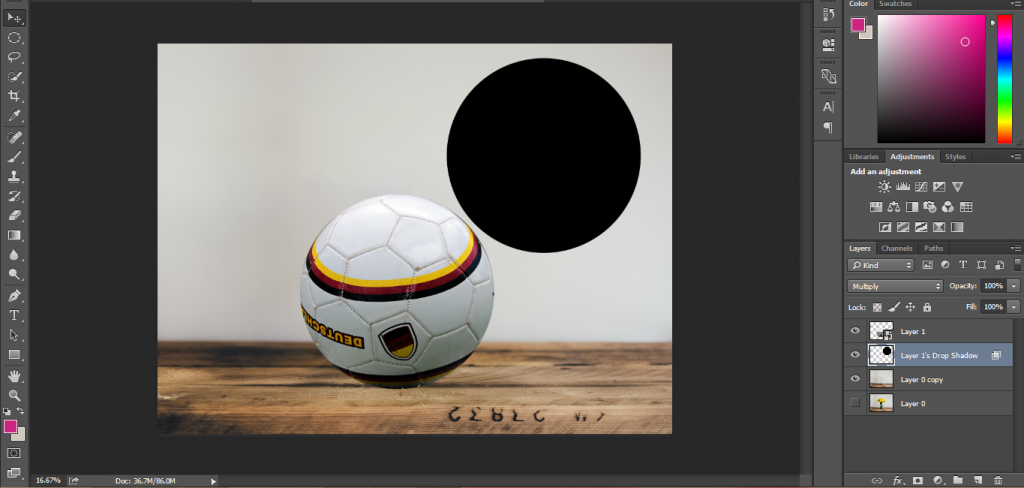
Step 4: Improve the Look of the shadow
We have created the logo but it is not looking realistic.
So, we have to put more effort into it. Let’s continue. Go to the layer style option from the top of the menu and select “Create Layer”.
Ensure that there is a tick on the “drop shadow” text. After that, you will get a different layer for the shadow. Isn’t it great? You can customize the shadow as like as you want.
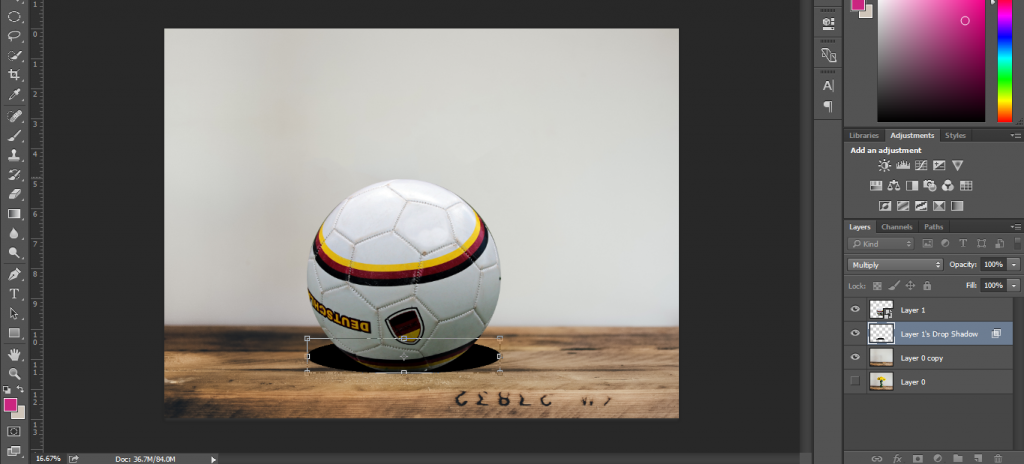
Press CTRL + T to enable the free transform option. Then place the shadow below the object to look realistic.
At this stage, I want to add blur with the shadow. To do so, go to the blur gallery option and choose Field blur.
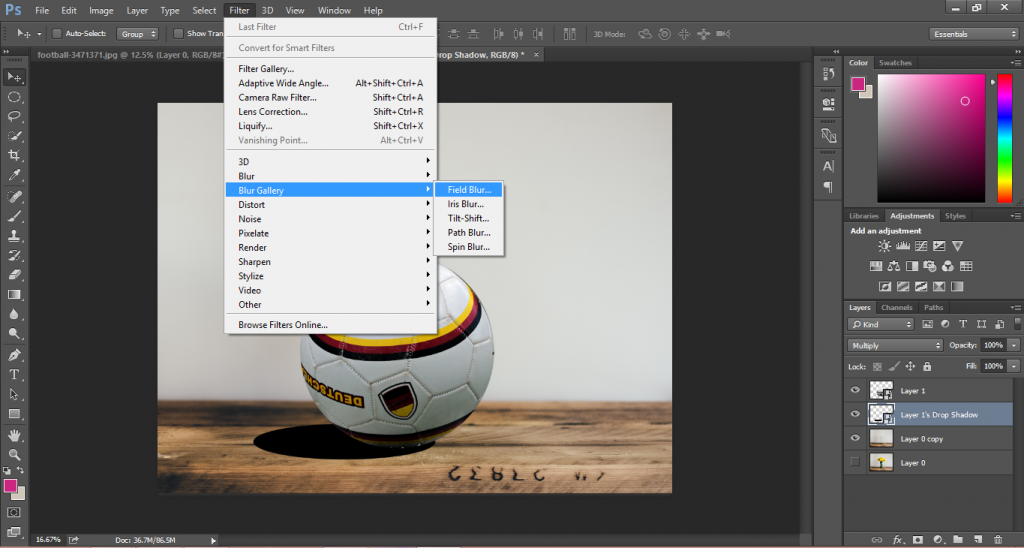
For the beginner photo editors, it might be confusing. That’s why I want to narrate it.
Place the Iris Blur in the below of the object.
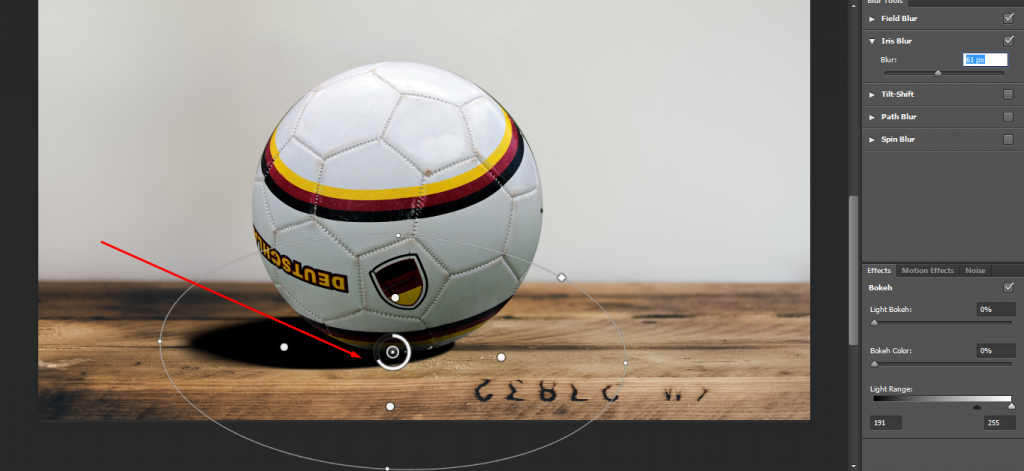
It will make the shadow trustworthy, realistic, and appealing. Press OK, after the customization.
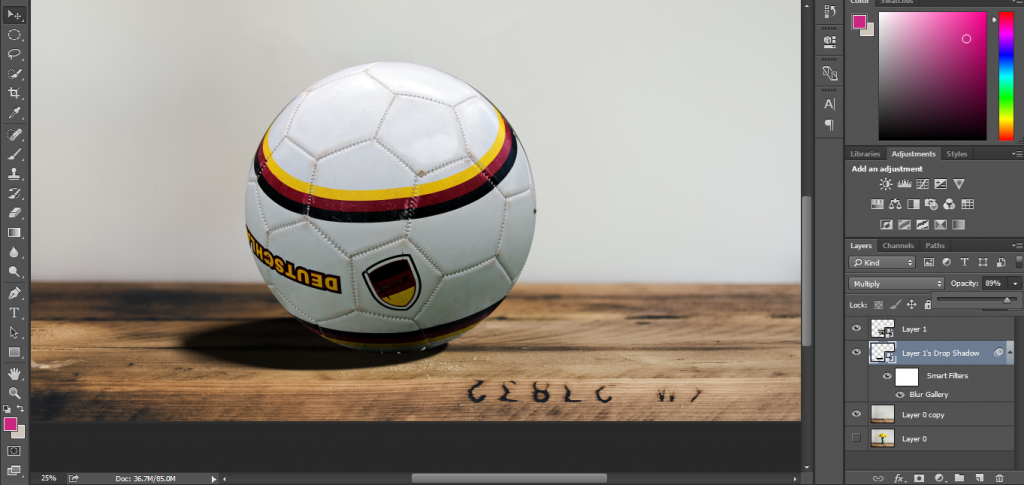
Do you want to make it more attractive? We have to make the object dark in the shadow areas.
To do so, create a new layer by pressing “CTRL +J “. Take the brush tool and pick the black color. Press and hold the “ALT” and click on the centerline on layer 2.
What’s the benefit of doing this? It will only brush on the object. So, pain on your object to get the dark look in the below. You can also change the opacity to make to more eye-catchy.
Eager to see the final result? Here you go.
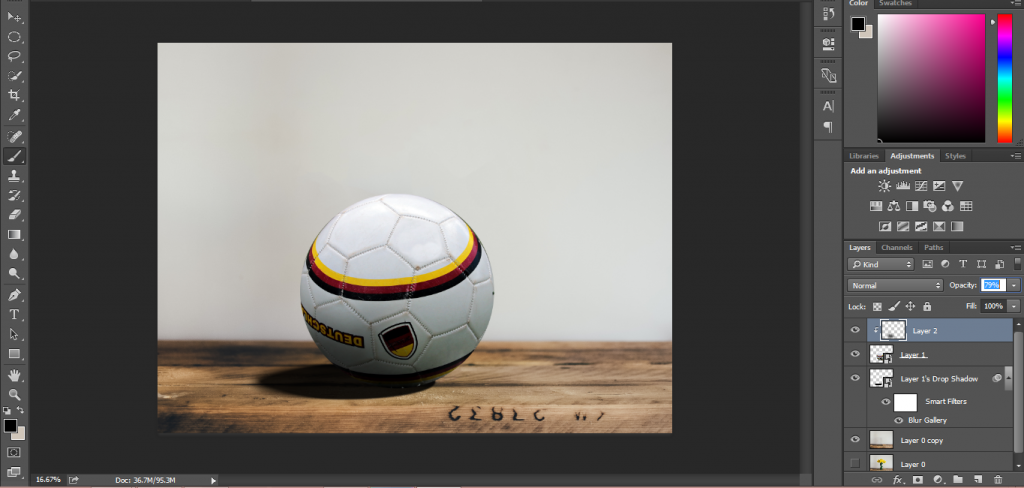
See, we have done it.
That’s the procedure of creating a drop shadow photoshop. I hope you have enjoyed the tutorial and learned the procedure. From now on, you can also add a photoshop drop shadow in your object.
For any kind of photo editing service, feel free to contact us. You will get the best service at a reasonable price.
Read also
how to remove shadow in photoshop